
利用Cloudflare的Workers搭建专属EPG接口
前言
由于Workers服务有每日访问量10W的限制,此方法搭建的EPG接口不适合分享给很多人使用,否则可能会导致访问量超过限制!
部署方法
1、访问https://www.cloudflare.com 并登录
2、选择页面左侧的[Workers 和 Pages]
3、右上角选择[创建应用程序]——[创建Worker]——[部署]
4、点击部署后,会提示已部署,再点击[编辑代码]。
5、将下方代码全部复制粘贴至窗口左侧的worker.js完成替换: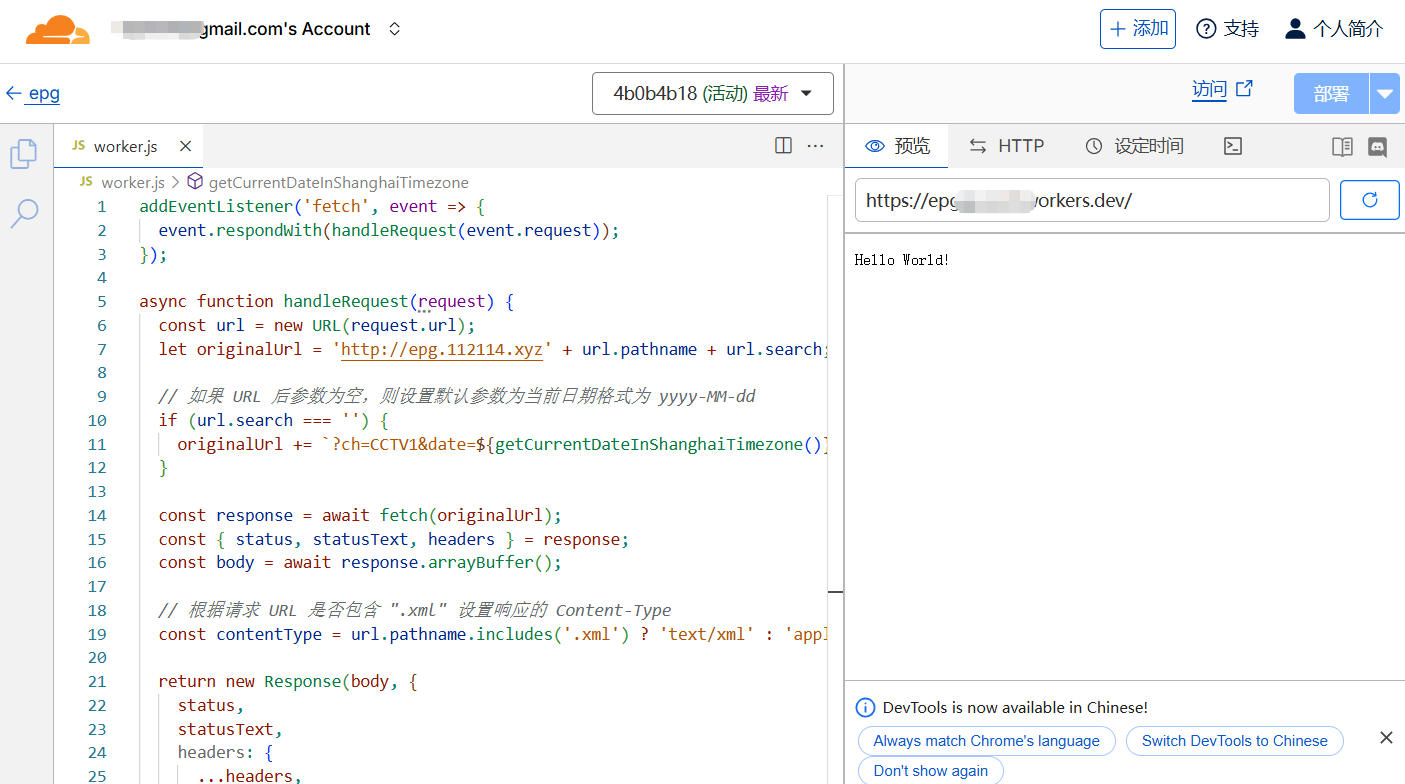
addEventListener('fetch', event => {
  event.respondWith(handleRequest(event.request));
});

async function handleRequest(request) {
  const url = new URL(request.url);
  let originalUrl = 'http://epg.112114.xyz' + url.pathname + url.search;

  // 如果 URL 后参数为空,则设置默认参数为当前日期格式为 yyyy-MM-dd
  if (url.search === '') {
    originalUrl += `?ch=CCTV1&date=${getCurrentDateInShanghaiTimezone()}`;
  }

  const response = await fetch(originalUrl);
  const { status, statusText, headers } = response;
  const body = await response.arrayBuffer();

  // 根据请求 URL 是否包含 ".xml" 设置响应的 Content-Type
  const contentType = url.pathname.includes('.xml') ? 'text/xml' : 'application/json';

  return new Response(body, {
    status,
    statusText,
    headers: {
      ...headers,
      'Content-Type': contentType,
      'Access-Control-Allow-Origin': '*', // 可选:设置 CORS 头以允许跨域请求
    },
  });
}

// 获取当前日期,格式为 yyyy-MM-dd,以上海时区(UTC+8:00)为准
function getCurrentDateInShanghaiTimezone() {
  const dateObj = new Date();
  dateObj.setHours(dateObj.getHours() + 8); // 设置为上海时区
  const year = dateObj.getFullYear();
  const month = ('0' + (dateObj.getMonth() + 1)).slice(-2);
  const day = ('0' + dateObj.getDate()).slice(-2);
  return `${year}-${month}-${day}`;
}
6、选择左上角返回,找到[设置]——[触发器],右侧选择[添加自定义域],将自己的域名与之绑定访问即可。
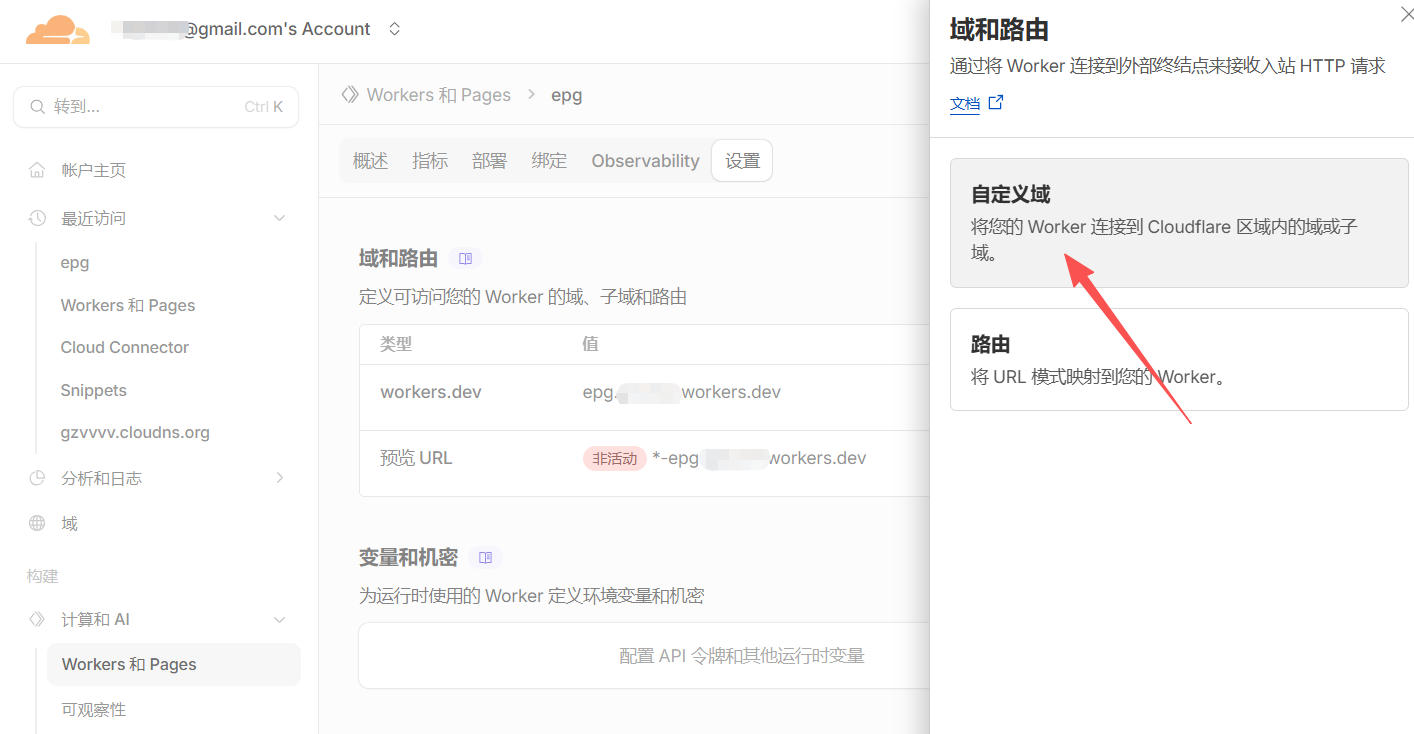
7、访问自定义域名成功即可。
接口使用说明:
- xml格式:
http://你的自定义域名.com/pp.xml - DIYP类播放器接口:
http://你的自定义域名.com - DIYP类EPG接口测试格式为:
http://你的自定义域名.com/?ch=CCTV1&date=2025-12-14